Mailing List

Showing posts with label WIP. Show all posts

Saturday, January 12, 2008

Squid Girl and Bunny Doll WIP

Squid Girl and  Bunny Doll WIP

It's been a while since I have posted some "work in progress" (WIP) pictures. What you see now is two dolls. On the left is my Squid Girl doll for the MRSBO Raggedy Anne Challenge. The doll on the right is going to be a simple little bunny doll. Perhaps my bunny will be an albino? I have not decided yet. There are so many beautiful breeds of bunnies to chose from it's like trying to pick one color from a big box of 100 crayons.

As you can plainly see, the faces are needle-sculpted cloth. But what you can't see, or feel rather, is that both dolls have been dipped in Paverpol. Now the heads are nice and hard. They're ready for the paperclay application. Paverpol creates the perfect surface for the rough process of sculpting refined features.

If you have any questions about how I make my dolls, feel free to leave a comment and I'll do my best to answer.

Happy Dollmaking,
Melisa

Sunday, November 18, 2007

Minerva Heap WIP

Now that I am finished with my Queen Anne doll, I am happily back to my little orphans. My latest little monstrosity is Minerva Heap. Stay tuned for more pictures and information about her.

Minerva Heap WIP

Monday, October 08, 2007

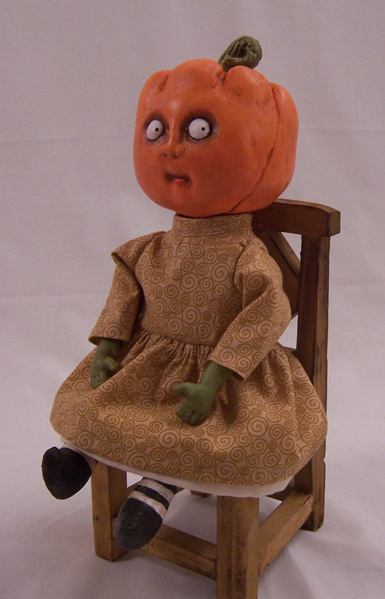
Pamela Pumpkinhead Preview

Here is a sneak peek of my next auction. She is Pamela Pumpkinhead and is feeling a little paranoid at the moment. Stay tuned for more of Pamela.

Tuesday, October 02, 2007

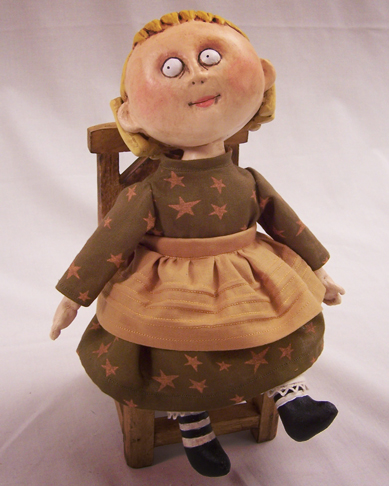
Sneak Preview of Upcoming Auction: Bella WIP

Here is a sneak peek of what is coming up for auction on Wednesday. Her name is Bella and she has a twin named Donna. Stay tuned for more information. :)

Saturday, September 22, 2007

Percival WIP

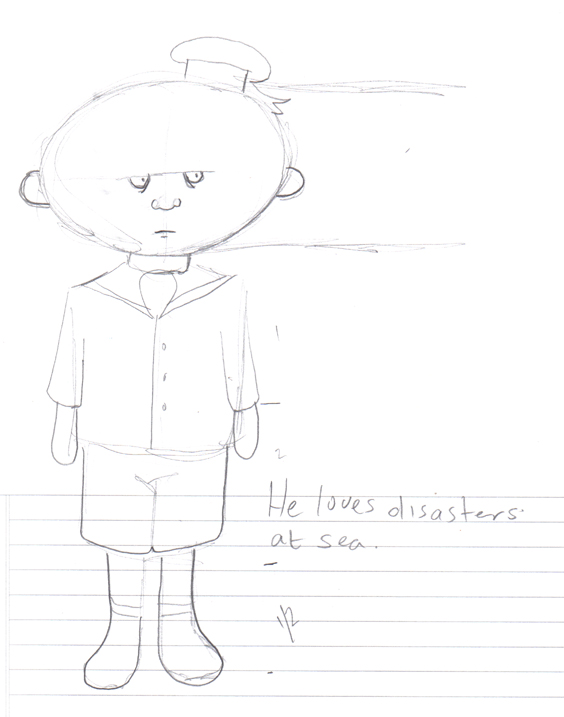
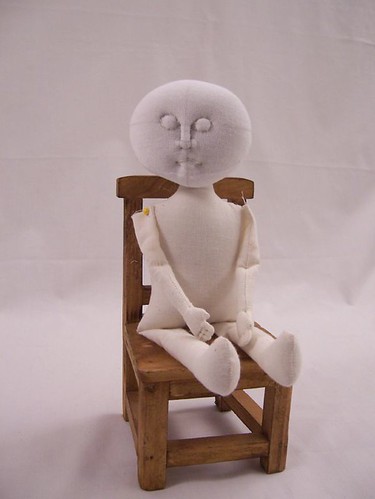
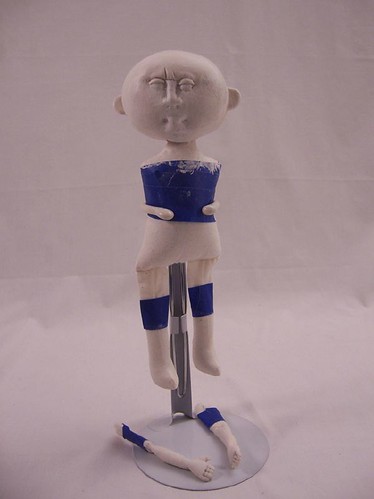
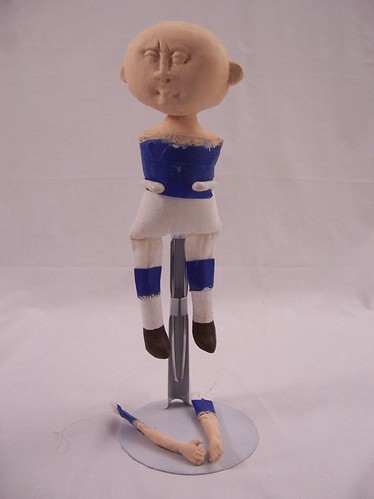
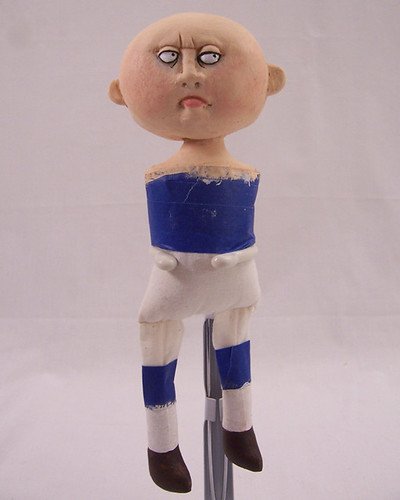
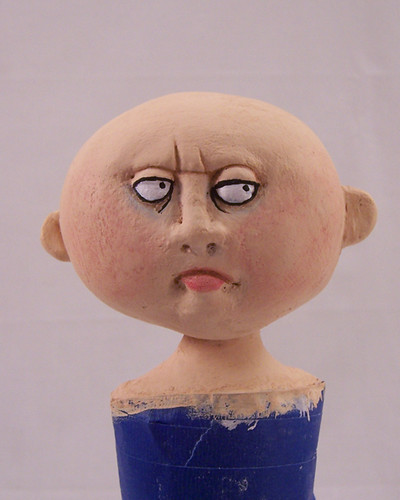
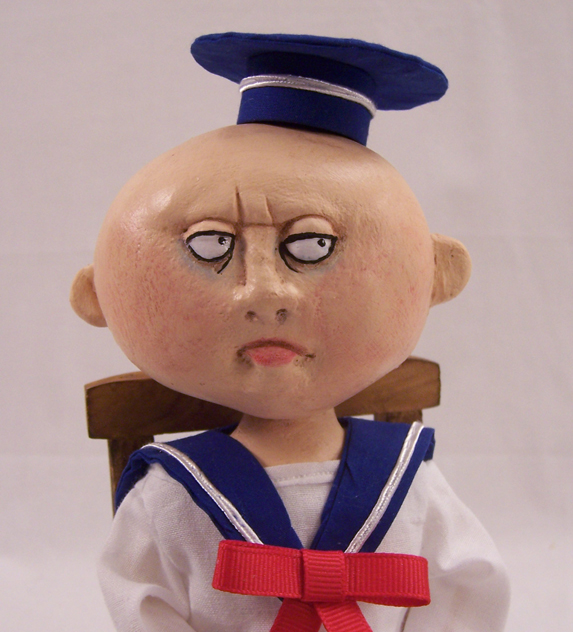
Since I enjoyed making Violet so much, I thought she'd need some siblings. So may I introduce her little brother, Percival. He is six years old, and just like his sister he is a veracious reader. His favorite subject is maritime disasters. Below you will see the genesis of Percival. As always, I began with a thumbnail sketch of what I wanted to do. I planned on using the same head pattern I used for Violet to make Percival's head. But I knew I was going to have to make a new body pattern. So I made a measurement of Percival's head and used it as a guide to measure the rest of his body. He came out to three and a half heads tall. Next, I made the pattern pieces and transfered them to muslin and sewed his body. His head is made out of cotton knit and then I needle-sculpted the eyes, nose and mouth.
Here are the results. Percival looks pretty innocent so far, but just you wait. He won't stay that way for too long.
First, I dipped his head in Paverpol to stiffen the fabric. The next step is to add a layer of liquid paperclay. I let it dry and then add paperclay features. In this case, I added eyelids, a furrowed brow, ears and hid seams. After I allowed it to dry overnight, I then added a couple of layers of modeling paste over his head, arms and legs.
Now it's time to paint an acrylic flesh-toned base coat on his head and arms. His legs have simple brown shoes and white socks.
Next, I apply a burnt umber wash to give the doll some depth. The wash is quickly removed with a damp paper towel, leaving some burnt umber in the recesses and furrows. It also gives the doll an antique look.

At long last, the fun part. I love adding the details. The paint is applied in very thin washes, like watercolors. The only exception being his eyes, those are painted with opaque acrylics. I told you he wasn't going to look innocent for too long.
To finish, I seal the doll with a flat acrylic varnish. Then I apply Diamond Glaze to his eyes and lips.
The next stage is to create his little sailor outfit and props. So please come back and check on little Percival's progress. If you are interested in when Percival will be available for sale, please subscribe to my mailing list at the left.

Percival is almost done. His hat needs a little red pom-pom. I am going to put him up for auction tomorrow.

Monday, August 27, 2007

Brap WIP


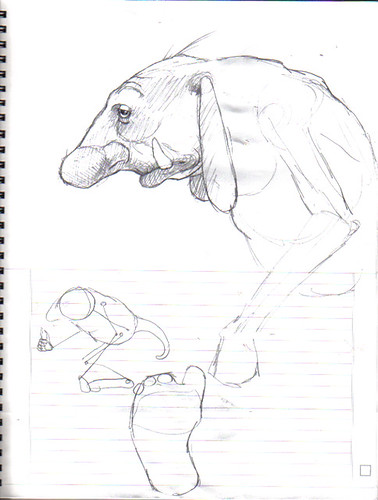
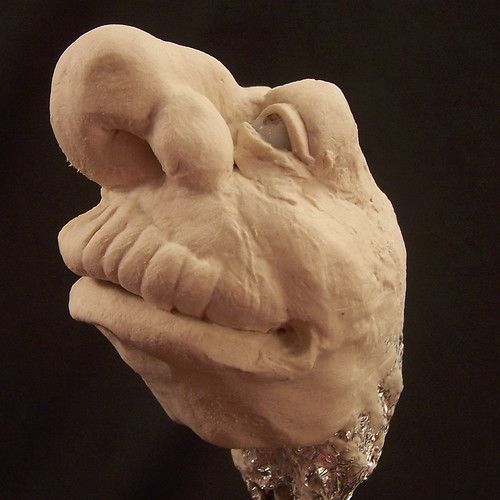
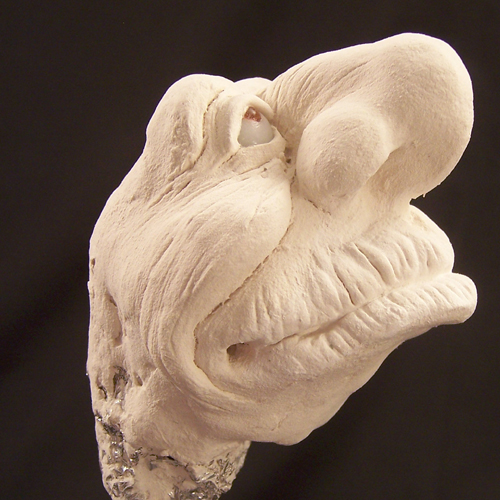
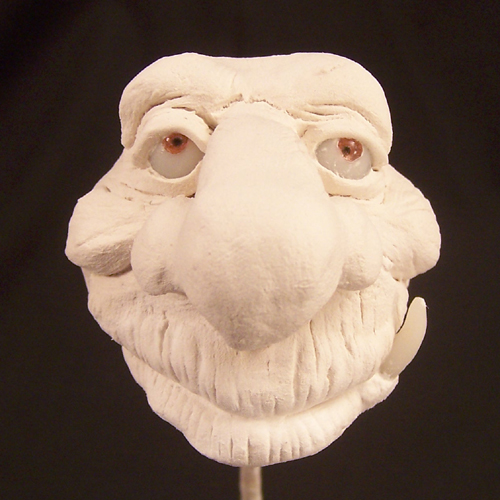
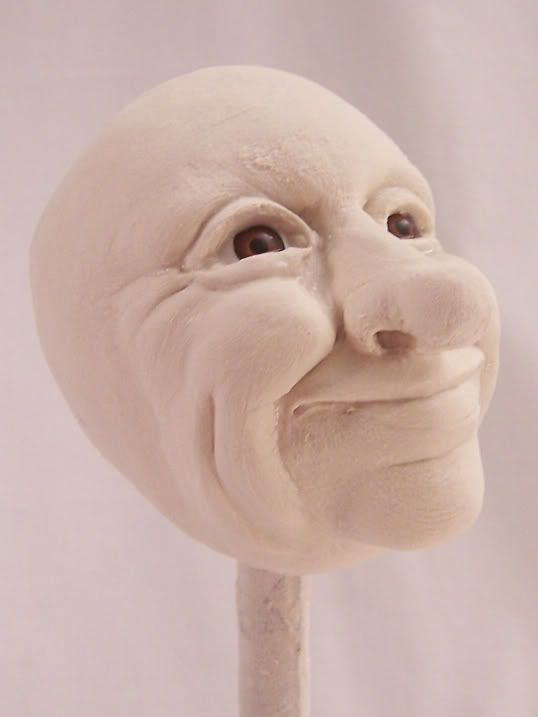
Here is my latest paperclay endeavor. He will eventually turn into a sweet troll named Brap. He was very relieved when I took the cling wrap off his head and took a big breath of fresh air. I tell him it's for his own good, but he doesn't believe me that he'll dry out before I can finish him. He has one eye near completion and the other one waiting patiently for it's beauty treatment. Brap's inspiration came about when I was looking at Brian Froud's Faeries at Half Priced Books and came across Jimmy Squarefoot, perhaps one of my most favorite Froud creations. I love the gentle, yet somewhat intimidating presence of Jimmy. For those of you who do not have the book (myself included), Jimmy is a cross between a pig and an ogre. Pig's just happen to be one of my most favorite animals, my absolute favorite are barn owls.

Stay tuned for more pictures of Brap.

Also, Blue Fairy will go up for auction on Ebay starting Tuesday August 28.

August 28

I have posted three new pictures of Brap. In these you can see I have added more wrinkles and made his lower lip protrude more. Using translucent Fimo, I made a protruding lower canine tooth.

Now you see all those little cracks? That is nothing to worry over. I use this Japanese liquid paperclay and they disappear like magic. It's great stuff. The next part I am going to work on is his ears and feet. Stay tuned for more updates on this post.

August 29

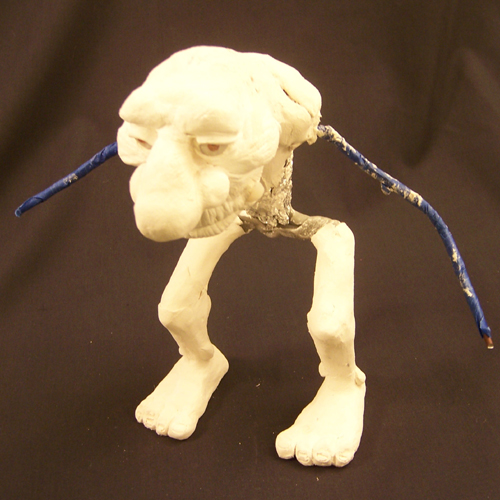
Brap's armature is 1/4" bonsai training wire. I covered it with paper tape to give the clay something to hold on to. I used aluminum foil to bulk out his chest and save my clay. Brap's legs are covered with Aves Apoxie. This stabilizes the legs in the position I want them to be. His feet have armatures for the toes.

The next step is to begin adding a layer of paperclay around the legs, chest and neck. I will attach his head to the body and seal the connection with the clay. I sculpt a simple form and then let it dry. Then I add the details. This is important because the clay now has a foundation and is much easier to work with. I work with paperclay in stages and allow each stage to dry before I continue. If I am particularly impatient for the clay to dry, I will put it in the oven for up to two hours at 17o degrees Fahrenheit.

Sept 14

I sculpted Brap's hands and used Ave's Sculpt to strengthen the armature. It creates the form of the upper arm and prevents the arm from bending at weird angles. Also, I added Brap's ears. I have written a tutorial about creating strong armatures for the ears. I need to figure out how to post it here.

The next step for Brap is to fill out his body with quilt batting strips and then cover it with cloth. Stay tuned for more updates.

Thursday, August 09, 2007

Dollmaker at work


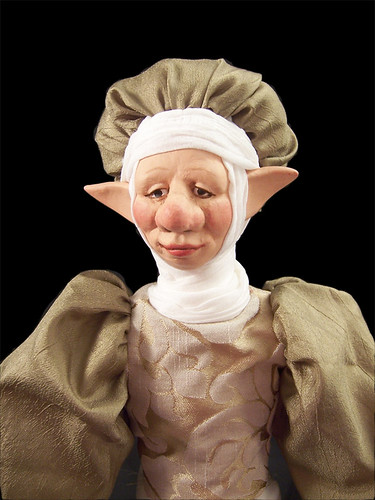
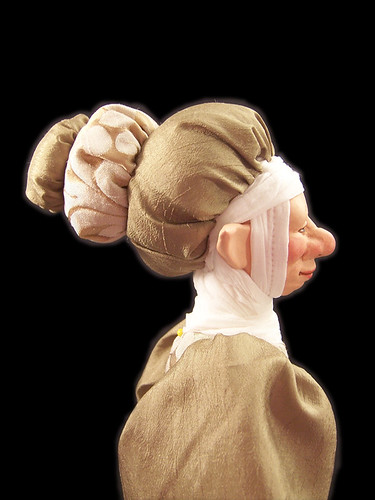
After reviewing all of the comments I have received, I have begun to make changes on my Big Nose Fae. I have added more trim and a nice full petticoat. The picture above is of some silk I am in the process of dyeing. Several of you suggested more color. I have chose to dye the silk a nice coral pink color. I know exactly what I want to do with it as well. Now I just need to wait for it to dry.

For homework, I've been studying Marilyn Radzat's incredible work. I consider her to be a master of embellishment. It's amazing to me how she does it. She is certainly inspiring. Well, that's all for now. Please stay tuned for updates of my Big Nose Fae.

Sunday, July 29, 2007

Big Nose Fae WIP and Mold Making


I am experimenting with mold making. At the moment, I am using Antonette Cely's technique from her book, "Cloth Doll Making." Her instructions are very easy to follow for mold making. The only problem I encountered was overcoming my fear of pouring plaster over a sculpt in order to make the mold. The sculpt is a significant investment of time and I certainly don't want to waste supplies. But I took the time to make sure there were no undercuts on my sculpt. After the plaster was dry, the original sculpt came right out of the mold with no distortions.

After overcoming my fears and trepidations, I made a second sculpt and subsequent mold. The doll pictured to the right is cast from that mold. I just had to make a big nose fae.

One of the benefits of mold making, is I am able to focus on other aspects of dollmaking. In particular, I want to work on my costuming skills. I like sculpting, but I don't like having to sculpt a new head every time I make a doll. Even though it is a mold, I can still manipulate the clay after it comes out of the mold and create a unique doll head. Besides, it seems most of the books I have read about dollmaking suggest mold making. It is one more useful skill to have under your belt.

I welcome any constructive criticism and comments. I will post pictures of this doll's progress.

Friday, July 20, 2007

Current Work In Progress


Here is another one of my latest pieces. He is made out of Paperclay and cloth over a wire armature. Tonight, I will begin to make his costume. Stay tuned for more pictures of his progress.

Wednesday, July 11, 2007

Handbeaded Fairy WIP: Costume

Today I finished the dress for my hand-beaded fairy. I still need to add some embellishments.

Sunday, July 08, 2007

handsculpted big nose fairy 04

Here is an update regarding Octavia Delarue. Her head is now attached to a cloth body. I glue a 3/8" wooden dowel into the head and then insert it into the cloth body. When I am satisfied with the angle and position, I smear glue on the dowel and then sew the cloth body neck opening closed. Then it's time to add a 1/4" layer of paperclay around the dowel. Then I place the doll in an 170 degree oven for about two hours. This drys out the clay and secures the head in place so I can continue to sculpt.

Thursday, July 05, 2007

Handbeaded Fairy WIP


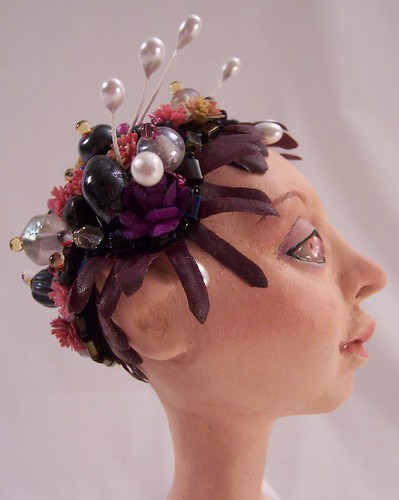
Here is a little doll I've been working on the past few days. She is made out of paperclay and cloth with my own polymer clay pink doll eyes. I made a skull cap out of black felt trimmed with silk flowers and beads. I have a lot of respect for artists using beads to decorate their work, but I must admit I have a hard time keeping my patience with it. Beading is so time consuming, but the results are nice. It was also a nice alternative to making a doll wig. I will post more pictures of her as she progresses.

Thursday, June 28, 2007

Octavia Delarue or Big Nose Fae #2 WIP


Introducing Octavia Delarue, my latest big nose fae. She will be my second big nose fae. My first one was Avarona Milkweed. Octavia has brown acrylic eyes. She is sculpted out of paperclay over a styrofoam egg. Normally, I use a round ball of styrofoam, but I thought I would try something a little different. I think I prefer the egg shape better. I think I am going to make Octavia on the chubby side. I want her to be a happy plump faery. As always, stay tuned for more updates on Octavia's progress.

I have started a mailing list for those of you who are interested when I put a new doll up for auction on Ebay. I will put a link on the sidebar of my blog for future reference.

Thursday, June 21, 2007

Baby Beatrix WIP


Baby Beatrix now has arms, legs, body and human hair. Tonight I begin her wardrobe. I am hoping to have her completely finished by Sunday or Tuesday. She will be up for auction on Ebay by Tuesday at the latest.

Tuesday, June 12, 2007

Baby Beatrix WIP


Beatrix now has a torso, neck and ears. I will post more pictures of her as she progresses.

Thursday, June 07, 2007

Little Usha WIP


Usha now has a wig made out of black Tibetan lambskin. Her hair has not been styled yet. I have begun her costume. It is made out of black and silver brocade satin and black silk. I needed to take a break and I decided that would be a good time to take some quick snapshots of Usha.

Wednesday, June 06, 2007

Little Usha is painted.


I just finished the last touches on Usha's paint job. Now I need to work on her wig. As always, stay tuned for more pictures of Usha's progress.

Friday, June 01, 2007

Polymer Clays Eyes Tutorial WIP


Geez! Writing a tutorial sure takes a lot of work. And it's even more time consuming when you don't know how to use Microsoft word. Despite my frustrations, it is coming along. I have finished taking all of the photos and finished a first draft. I hope to have it done by Monday or Tuesday. Cross your fingers and pray I don't throw the computer out the window.